7 Days Kilimanjaro Shira Route
Shira is one of two routes which approaches Kili from the west, crossing the stunning Shira Plateau before joining with the Machame route and the beautiful scenery of the southern circuit (the descent also follows the Mweka route to the southeast). Shira is one of the most difficult routes, as climbers are driven to the starting point at Shira 1 gate which lies at 3,500m, meaning the first night is at high altitude and acclimatisation is a challenge. Shira is suitable for experienced high altitude trekkers looking for a spectacular journey.
Day 1: Moshi/Shira Gate/Shira Camp2
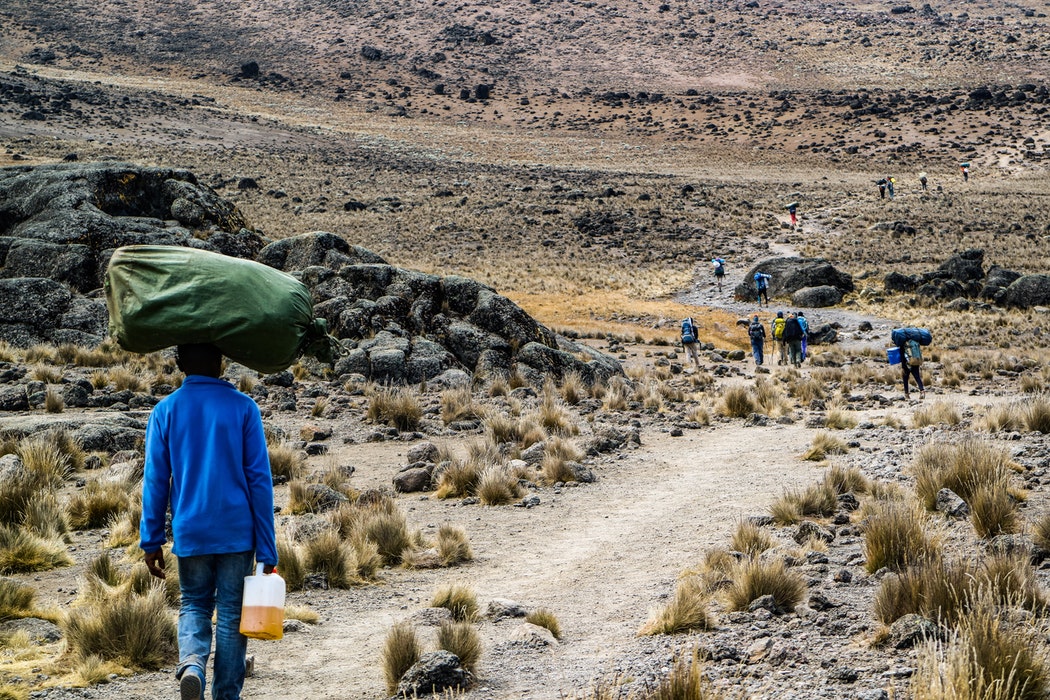
After breakfast and a briefing from your guide, leave Moshi and drive for several hours to the Shira Gate on the western side of Kilimanjaro, register with the national park. Begin hiking, and enter the rainforest immediately. Your walk through the rainforest is on a winding muddy trail up a ridge. At these lower elevations, it can be wet and muddy, so gaiters and trekking poles will help. Stop halfway for lunch, and reach the Shira Camp in the afternoon. Unpack, rest, and have some tea or coffee. Dinner is served during the early evening at 7 PM.
Day 2: Shira Camp2/Barranco Camp
After breakfast, you will hike east up a steepening path above the highest vegetation toward Kilimanjaro's looming mass. After several hours, you walk through a rocky landscape to reach the prominent landmark called Lava Tower at 4,630 m/15,190 ft. This chunky remnant of Kilimanjaro's earlier volcanic activity is several hundred feet high, and the trail passes right below it. For extra credit, the sure-footed can scramble to the top of the tower.
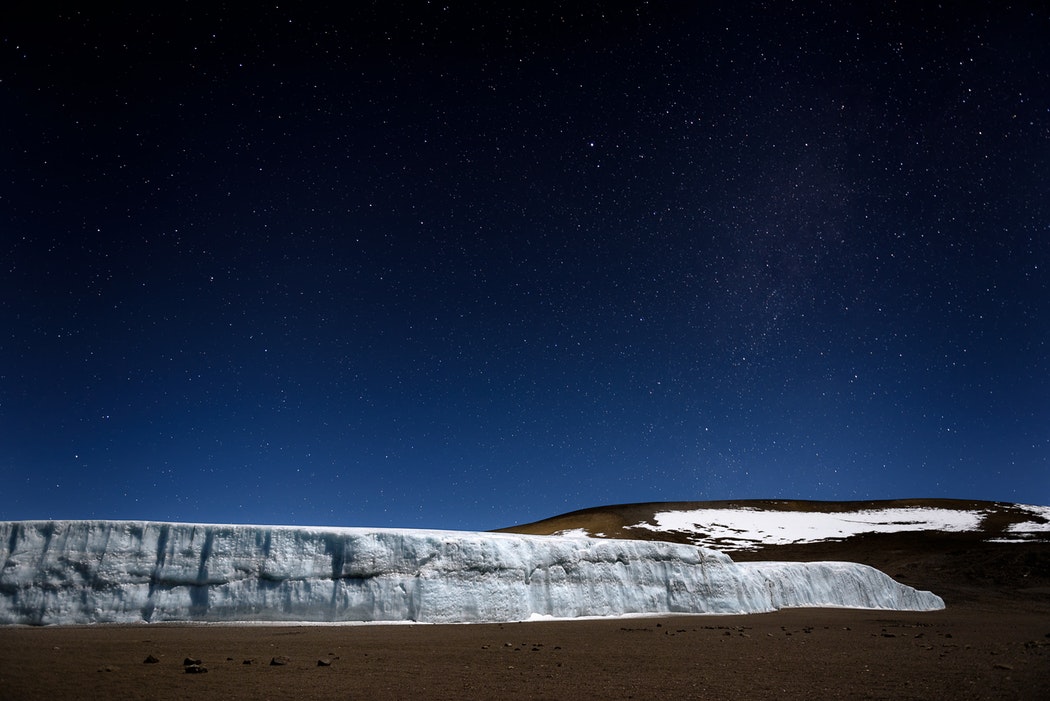
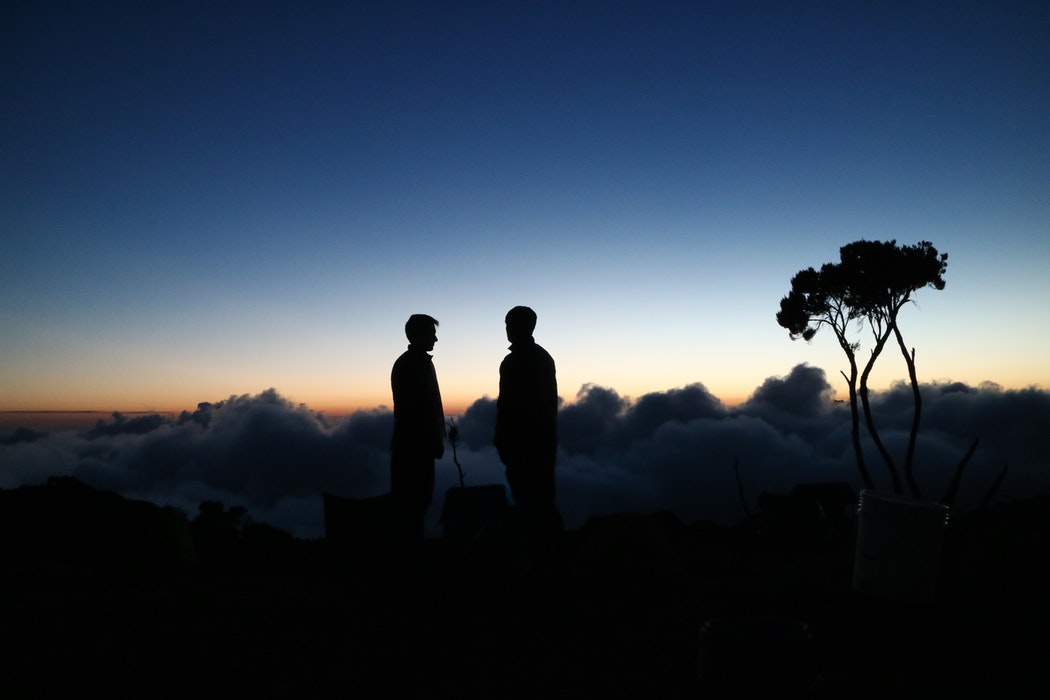
After a lunch stop near Lava Tower, descend for 2 hours below the lower cliffs of the Western Breach and Breach Wall to Barranco Camp at 3,950 m/12,960 ft. There are numerous photo opportunities on this hike, especially if the walls are festooned with ice. Barranco Camp is in a valley below the Breach and Great Barranco Walls, which should provide you with a memorable sunset while you wait for your dinner. On this day, be careful to notice any signs of altitude sickness.
Day 3: Barranco Camp - Extra Day for Acclimatization
Adding this day will ease your effort, and amplify your acclimatization.
Day 4: Barranco Camp/Karanga Camp
After breakfast, we continue up a steep ridge to the great Barranco Wall, then you climb this imposing obstacle, which turns out to be easier than it looks. Topping out just below the Heim Glacier, you can now appreciate just how beautiful Kilimanjaro really is. With Kibo's glaciers soaring overhead, you descend into the lush Karanga Valley to the Karanga Valley campsite.
From the camp, you can look east and see the jagged peaks of Mawenzi jutting into the African sky. After a hot lunch in camp, your afternoon is at leisure for resting or exploring. After two long days, this short day is very important for your acclimatization, since your summit push is about to start.
Day 5: Karaga Camp/Barafu Camp
In the morning, you hike east over intervening ridges and valleys to join the Mweka Route, which will be your descent route. Turn left toward the mountain and hike up the ridge through a sparse landscape for another hour to the Barafu Hut where you will receive a hot lunch. The last water on the route is in the Karanga Valley; there is no water at Barafu Camp, even though Barafu is the Swahili word for ice.
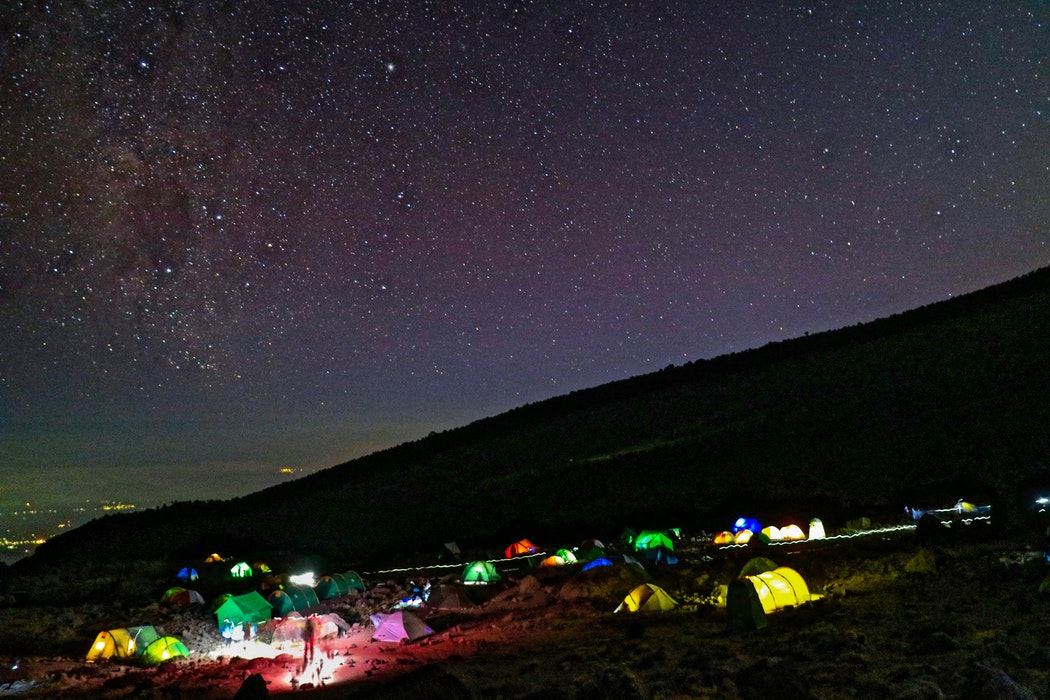
The famous snows of Kilimanjaro are far above Barafu Camp near the summit of the mountain. Your tent will be pitched on a narrow, stony, wind-swept ridge, so make sure that you familiarize yourself with the terrain before dark to avoid any accidents. Prepare your equipment and warm clothing for your summit climb, and drink a lot of fluids. After an early dinner, go to bed for a few hours of precious sleep.
Day 6: Summit Day! - Barafu Camp/Uhuru Peak
You will rise around 11:30 PM, and after some steaming tea and biscuits, you shuffle off into the night. Your 6-hour climb northwest up through heavy scree between the Rebmann and Ratzel glaciers to Stella Point on the crater rim is the most challenging part of the route for most climbers. At Stella Point (5,685 m/18,650 ft) you stop for a short rest and a chance to see a supremely sanguine sunrise. At Stella Point you join the top part of the Marangu Route, but do not stop here too long, as it will be extremely difficult to start again due to cold and fatigue. Depending on the season and recent storms, you may encounter snow on your remaining hike along the rim to Uhuru Peak.
On the summit, you can enjoy your accomplishment and know that you are creating a day that you will remember for the rest of your life. After your 3-hour descent from the summit back to Barafu Camp, you will have a well-earned but short rest, collect your gear, and hike down a rock and scree path into the moorland and eventually into the forest to Mweka Camp (3,100 m/10,170 ft). This camp is in the upper forest, so you can expect mist or rain in the late afternoon. Dinner, and washing water will be prepared, and the camp office sells drinking water, soft drinks, chocolates, and beer!
Day 7: Mweka Camp/Mweka Gate
After a well-deserved breakfast, it is a short, scenic, 3-hour hike back to the park gate. Don't give your porters any tips until you and all your gear have reached the gate safely, but do remember to tip your staff at the gate. At Mweka Gate, you can sign your name and add details in a register. This is also where successful climbers receive their summit certificates. Climbers who reached Stella Point are issued green certificates and those who reached Uhuru Peak receive gold certificates.
From the Mweka Gate, you will continue down to the Mweka Village, possibly a muddy, 3 km, 1 hour hike if the road is too muddy for vehicles. In the Mweka Village you will be served a delicious hot lunch after which you are driven back to Moshi for an overdue hot shower and comfortable night at your hotel in Moshi.

